



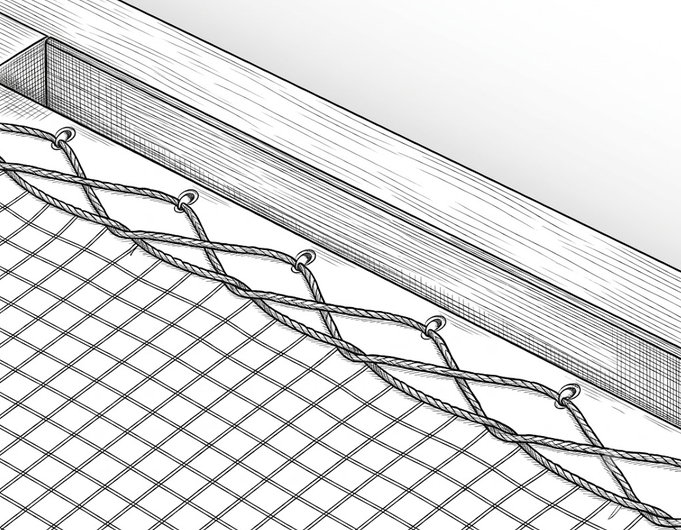
Which mounting hardware should you choose for your custom-made net?
The mounting system is what ensures the safety and durability of your net over time. It also determines its appearance, since the attachment points remain visible all around the perimeter of the installation. Installing a net always involves two complementary elements: the anchors, which are secured to the support structure, and the tensioning ropes, which connect the net to these anchors all around its perimeter.
Feelnets offers more than twenty types of mounting hardware, all manufactured in Europe, and ships each net with the hardware suited to your setup as well as the necessary tensioning ropes: you don’t have to choose them separately. The choice depends on three factors: the type of support structure (wood framing, concrete, metal structure, or IPN), the type of net (horizontal, such as a mezzanine, or vertical, such as a guardrail), and whether it will be used indoors or outdoors.
This guide explains the three possible installation methods, details each type of fastener and its characteristics, and helps you identify the one that best suits your project.
The choice of mesh is covered in a separate guide: learn how to choose the right mesh for your net based on your project.
In this guide
The Three Methods for Installing a Net
Before choosing a mounting system, you need to determine the installation method best suited to your space. This depends on the type of your mounting surfaces and their strength. In most projects, the system is mounted directly onto the existing structure. When the existing structure is incomplete or you’re looking for a specific aesthetic, cable mounting is an option.
La méthode la plus courante. Des pitons ou des pontets sur platine sont vissés tous les 150 mm sur tout le pourtour du filet, dans la charpente, les poutres, les murs porteurs ou une dalle béton. Les chevilles sont fournies pour la pose dans le béton.
Quand la choisir : vos supports sont solides et présents sur tous les côtés du filet.
Sur une poutre métallique ou un IPN, la fixation se fait à l'aide de pontets à vis ou de boulons à œil, placés eux aussi tous les 150 mm. Pour les projets où le percement de la structure n'est pas souhaité, une barre ou un tube métallique peut être installé en amont par un ferronnier.
Quand la choisir : votre structure porteuse est métallique, en totalité ou en partie.
Un câble inox de 5 mm est tendu et fixé à la structure, puis le filet est lacé dessus. Le câble reprend le rôle du support manquant et répartit la tension. Cette méthode est compatible avec les supports bois, béton et métalliques, et se combine avec les deux autres.
Quand la choisir : un ou plusieurs côtés n'offrent pas de support assez solide, ou pour un rendu plus fin et un rappel marin.
Bindings designed and manufactured in Europe
All Feelnets fasteners are manufactured in the European Union. The fastener bears the entire load and tension of the net: a poorly inspected part may rust or lose its strength within a few seasons, with no visible signs prior to failure.
Most of the fasteners sold for this purpose are imported, with no information about their origin or the quality controls applied. Feelnets has taken the opposite approach: a line manufactured in Europe, with each product documented in terms of its material, strength, and intended use. The same high standards guide our selection of materials and finishes, as detailed on our Quality and Safety page.
Most of the product line is made of 316 stainless steel, a grade known as “marine-grade” that withstands humidity, salt spray, and temperature fluctuations. This allows the same fasteners to be used both indoors and outdoors, including by the pool or at the beach. Two zinc-plated steel models round out the line and are intended for indoor use only.
The load capacities range from 85 kg for axial tension on plate-mounted brackets to 300 kg for the 12×120 mm bolt. Combined with a 150-mm spacing around the entire perimeter, they distribute the load across the entire structure rather than at just a few points.
316 stainless steel or galvanized steel? If your filter is installed outdoors or in a damp room, 316 stainless steel is essential. Galvanized steel is suitable only for indoor installations in dry environments.
Attaching a net to a wood or concrete frame
This is the most common configuration, both indoors and outdoors. The net is attached directly to the roof framing, beams, load-bearing walls, or a concrete slab using bolts or plate-mounted brackets spaced every 150 mm around the entire perimeter.
The choice between the two depends on the load to be supported, the type of support structure, and the desired appearance.
Screw-in bolts
The piton is the simplest and strongest fastener in the line. Screwed directly into wood, or into concrete using the included anchor, it provides a single attachment point through which the tension rope passes. Its closed-ring shape allows for all three types of lacing.
The 8×80 mm bolt is the standard model, with an axial tensile strength of 120 kg. It is available in zinc-plated steel for indoor use, and in 316 stainless steel in three finishes—stainless steel, white, and black—to match the color of the net and the mounting bracket.
The 12×120 mm anchor has a load capacity of 300 kg. It is intended for use with horizontal nets, mezzanines, and suspended lounge areas in projects with long spans or heavy loads. Its size makes it unsuitable for guardrails, where it would appear too bulky.
| Reference | Material | Strength | Usage |
|---|---|---|---|
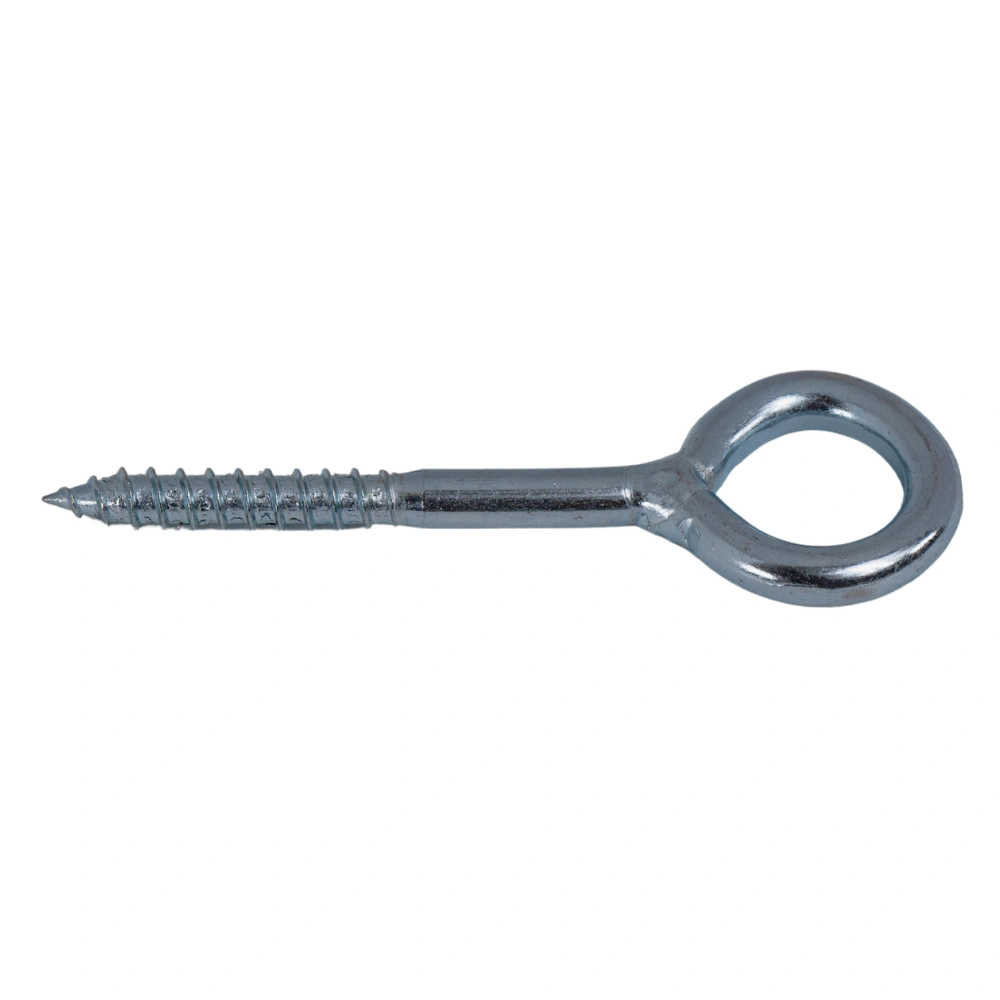 8x80 mm screw
|
Galvanized steel | 120 kg | Indoor use only, horizontal and vertical |
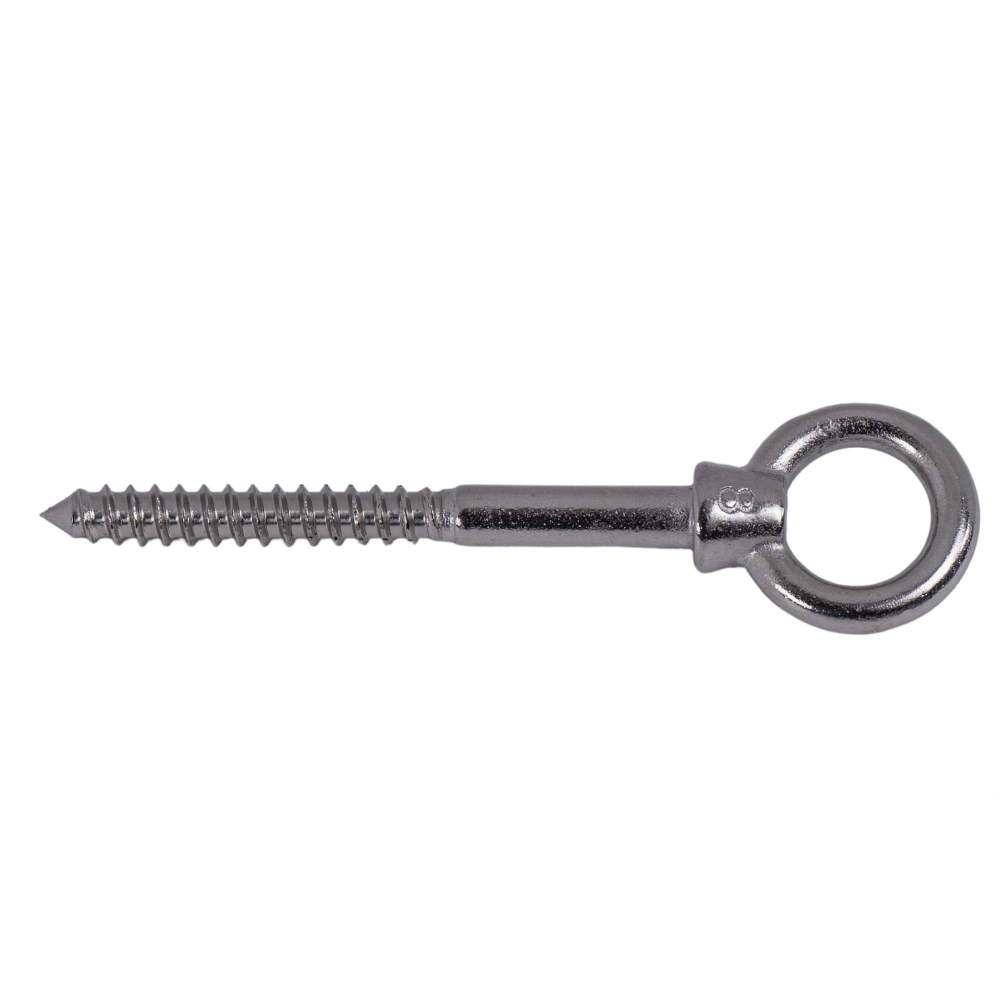 8x80 mm Stainless Steel Bolt
|
316 stainless steel | 120 kg | Indoors and outdoors, horizontal and vertical |
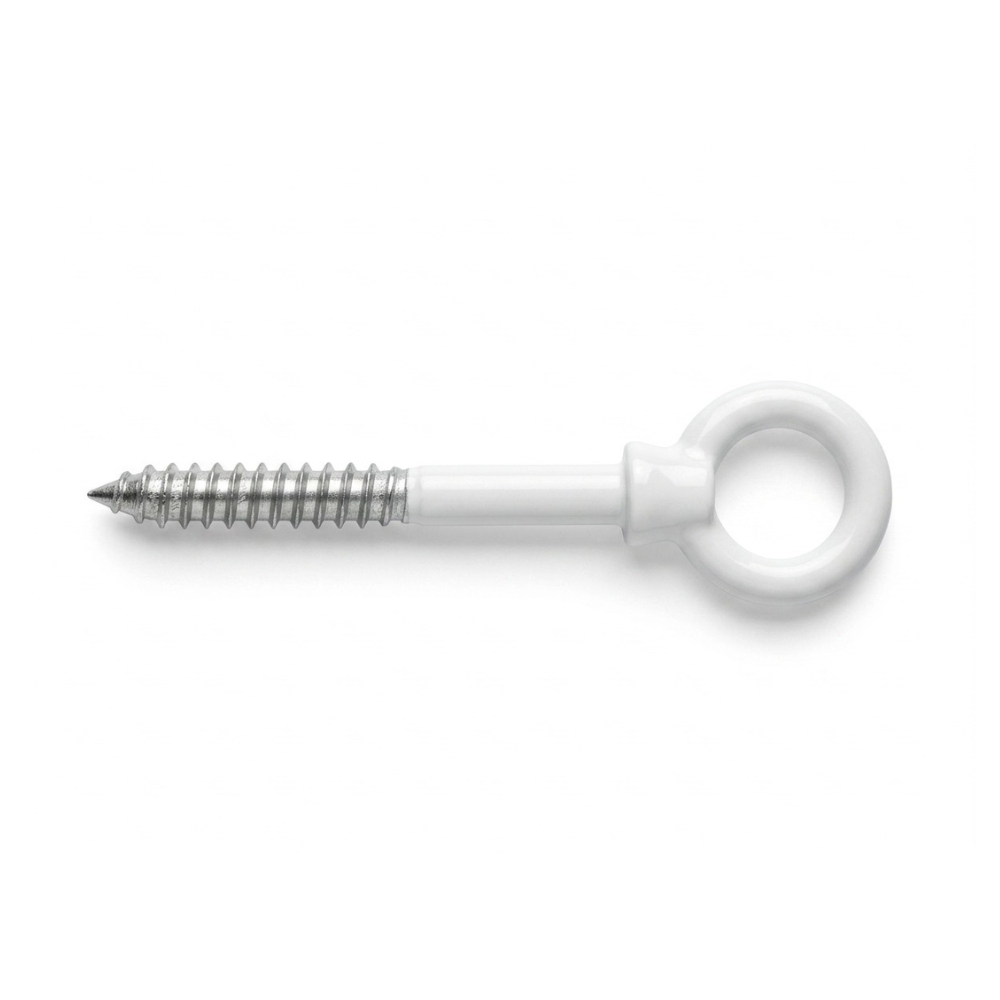 8x80 mm White Screw
|
316 stainless steel | 120 kg | Indoors and outdoors, horizontal and vertical |
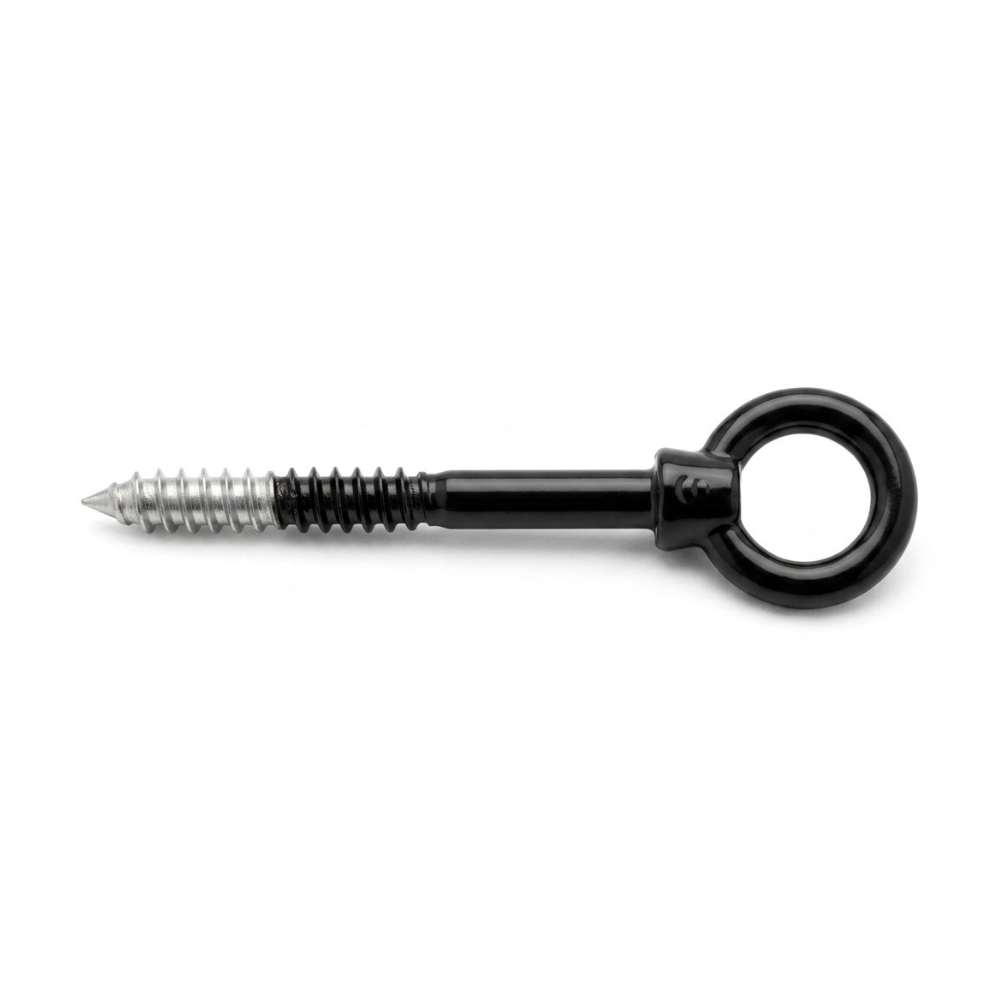 8x80 mm black screw
|
316 stainless steel | 120 kg | Indoors and outdoors, horizontal and vertical |
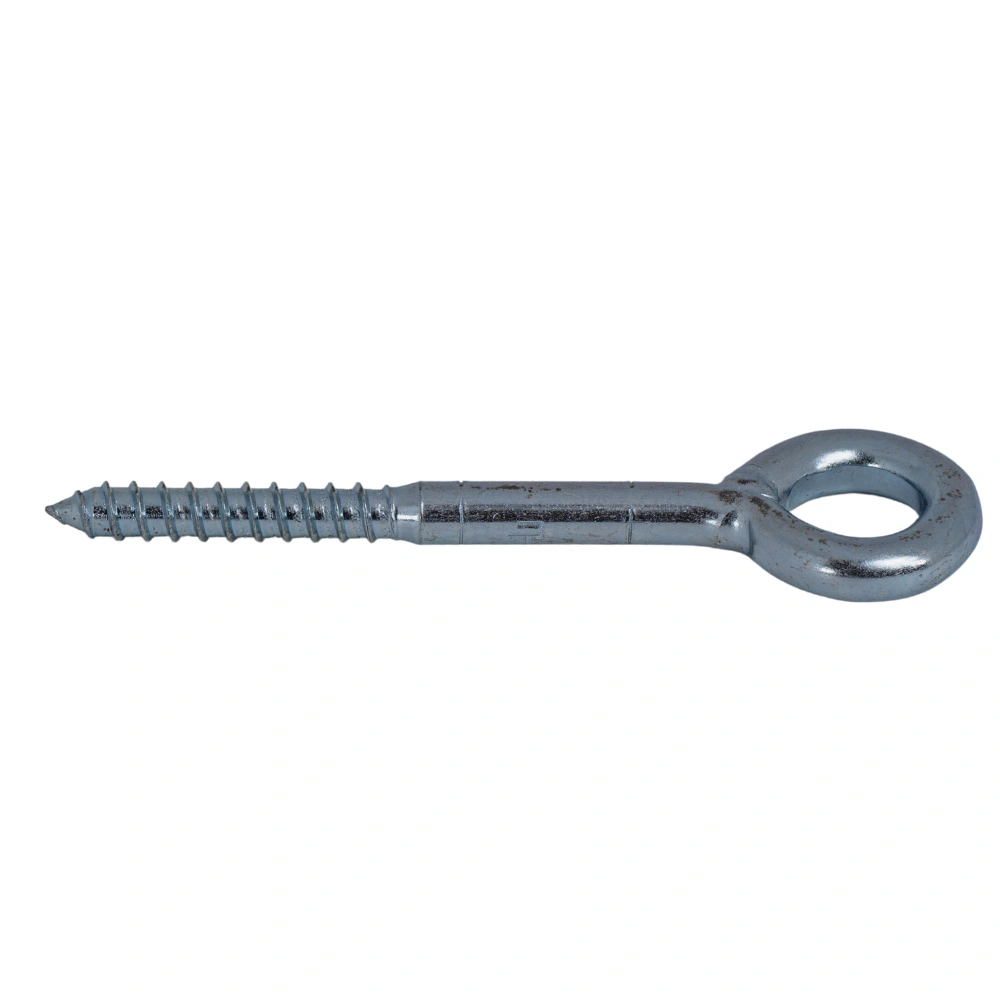 12x120 mm screw
|
Galvanized steel | 300 kg | Indoor use, horizontal net only |
Plate-mounted brackets
The anchor is screwed into a plate with several holes, which distributes the load over a larger surface area than a single bolt. This is the recommended solution when the substrate is thinner, when a more discreet and flush finish is desired, or when the anchor must pass through a lining. 85 kg axial tensile strength, with all three types of lacing.
There are three styles available. The plate-mounted railing post, available in stainless steel, white, and black, is the standard model. The square plate-mounted railing post offers a more graphic look for the same application. The horseshoe-shaped bracket, which is more compact, is intended solely for vertical guardrail-type nets: its shape is not suitable for supporting the load of a horizontal net.
| Reference | Material | Strength | Usage |
|---|---|---|---|
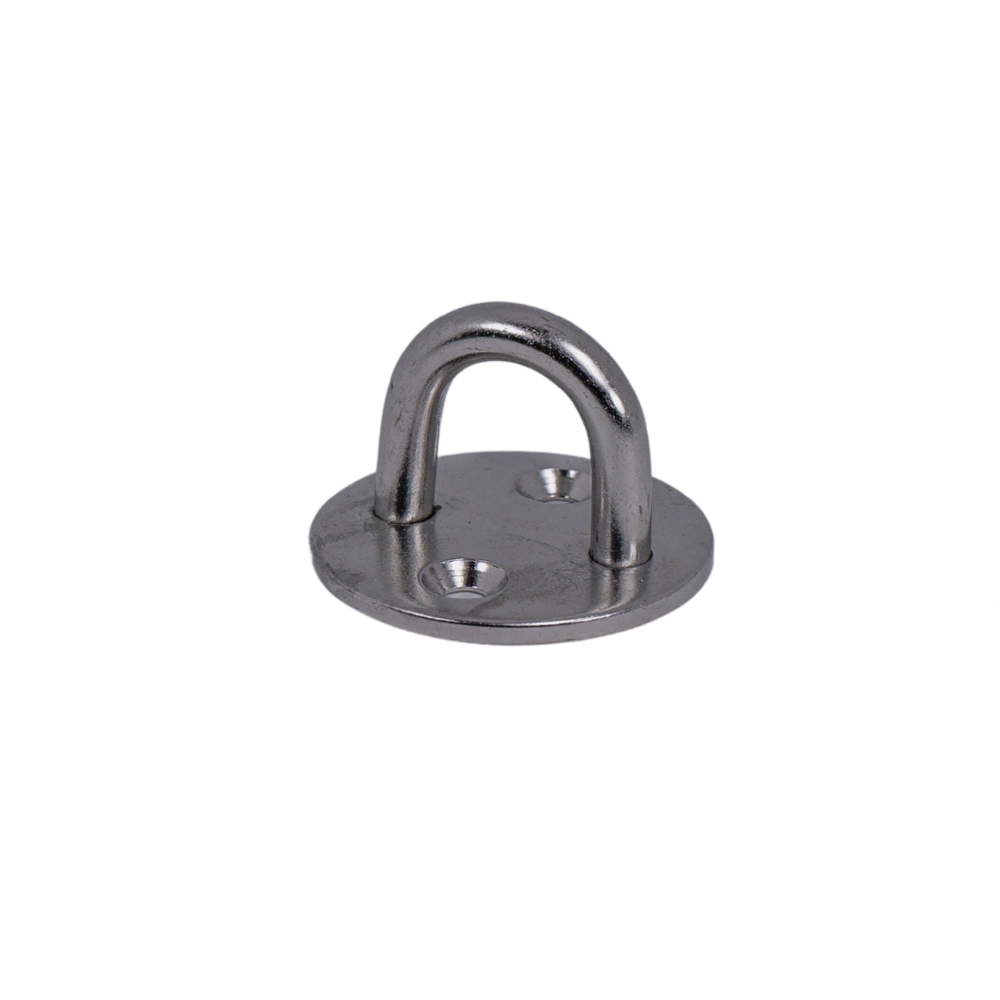 Bridge on a plate
|
316 stainless steel | 85 kg | Indoors and outdoors, horizontal and vertical |
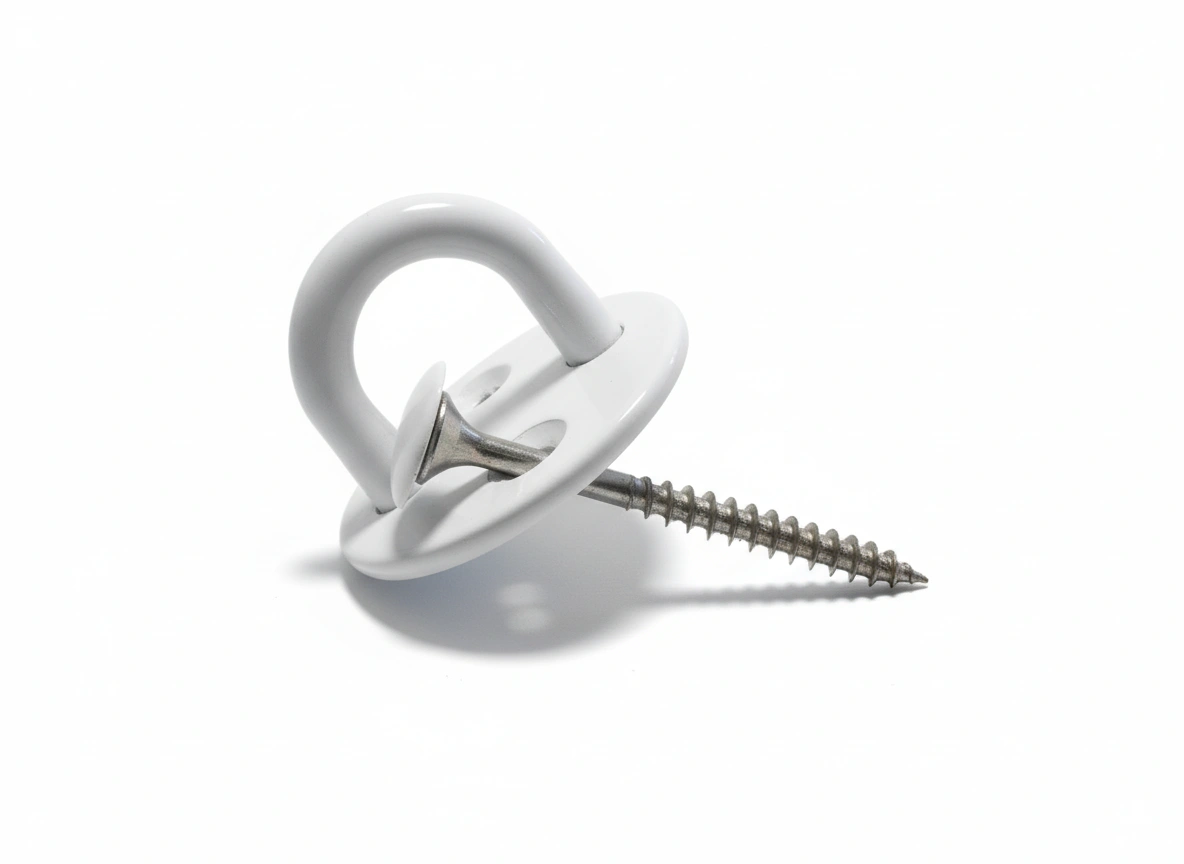 White Bridge on a Plate
|
316 stainless steel | 85 kg | Indoors and outdoors, horizontal and vertical |
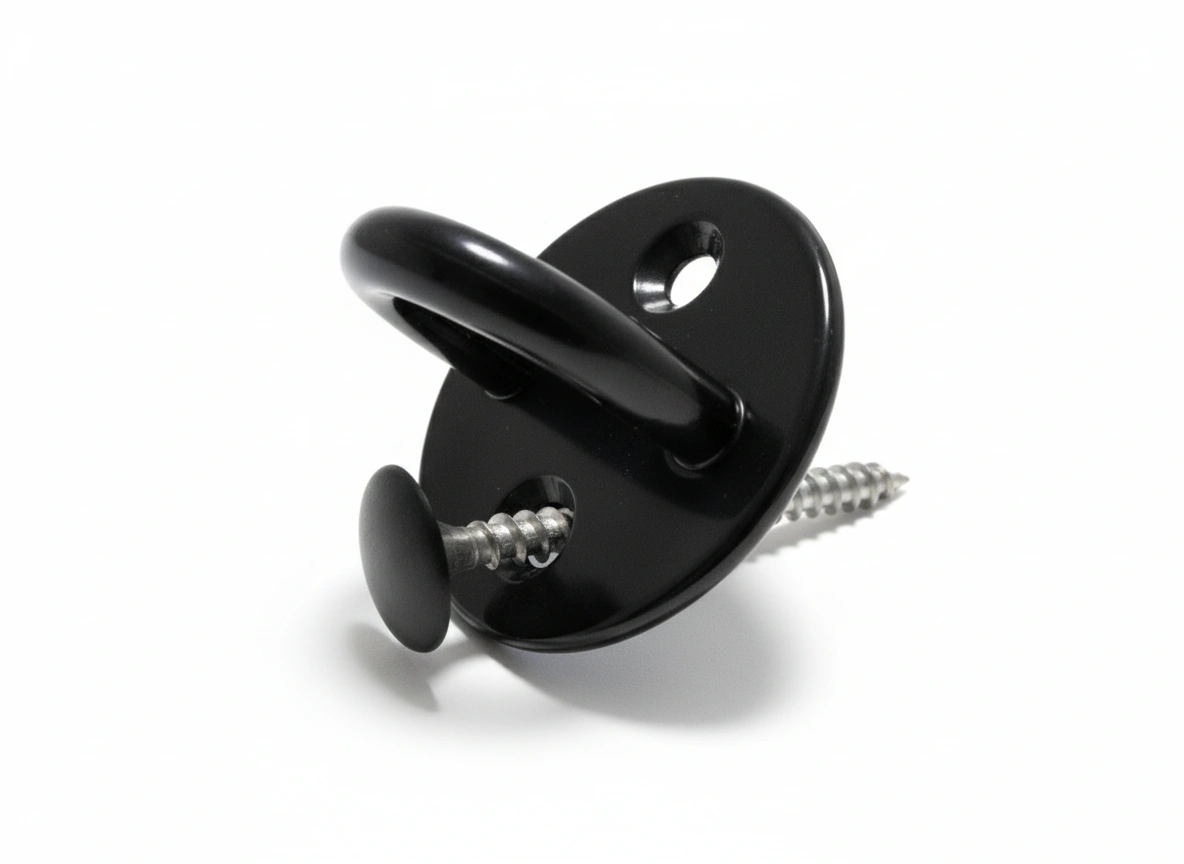 Black bridge on a plate
|
316 stainless steel | 85 kg | Indoors and outdoors, horizontal and vertical |
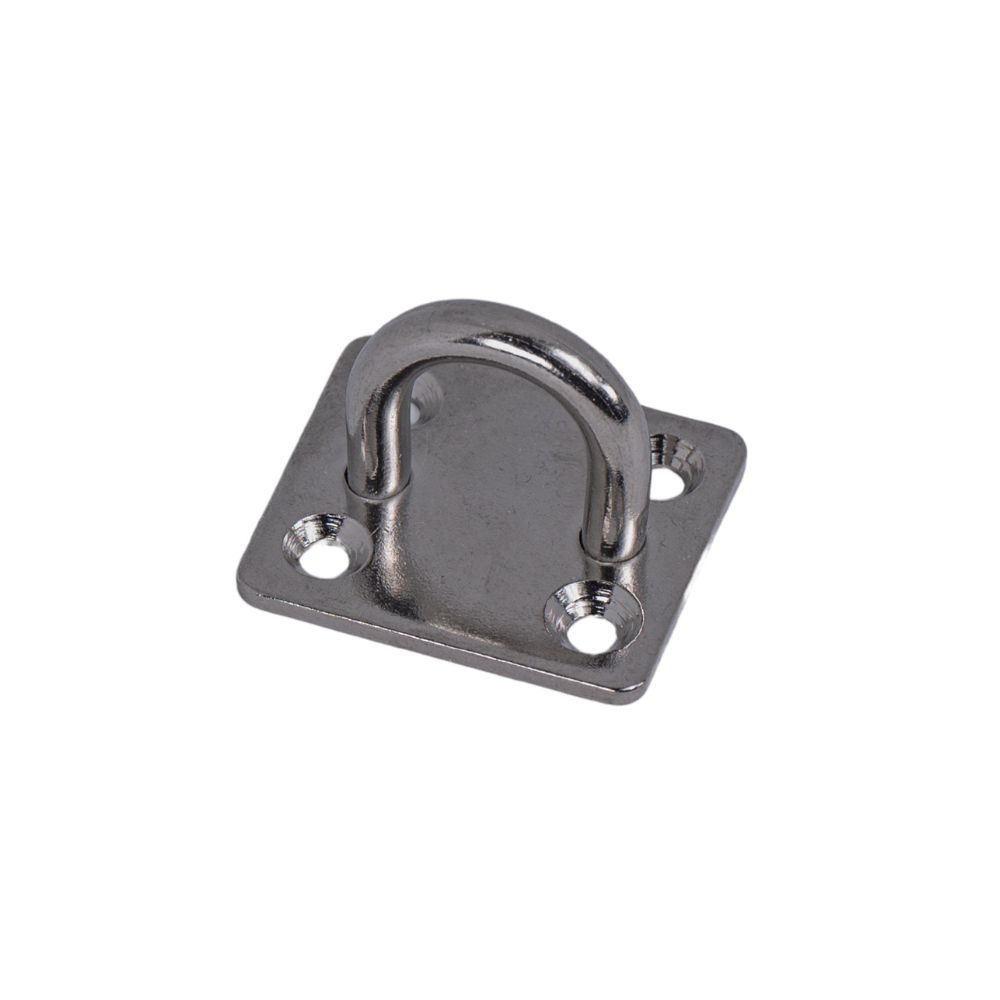 Square Platinum Bridge
|
316 stainless steel | 85 kg | Indoors and outdoors, horizontal and vertical |
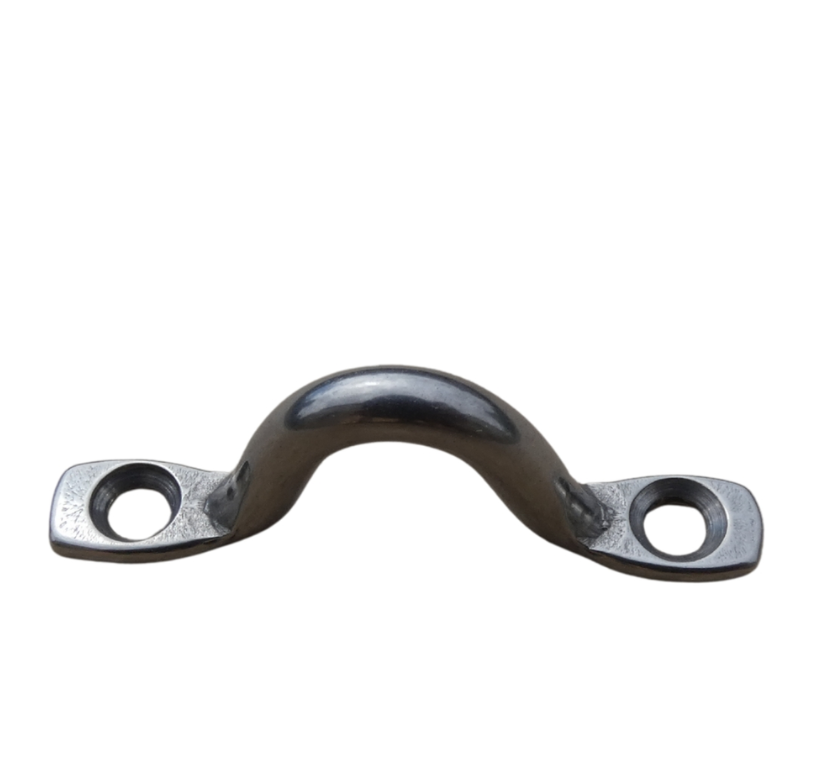 Horseshoe Bridge
|
316 stainless steel | 85 kg | Indoor and outdoor use; railings only |
Which screw is right for your trigger guard?
Feelnets screws are used exclusively with bridge anchors; pitons are threaded directly. The choice depends on what needs to be passed through before reaching the load-bearing wood—a point that is often overlooked and accounts for most cases of loose fastenings.
| Reference | Configuration |
|---|---|
| 4.5x50 mm stainless steel screw | Screw directly into wood, without backing |
| 4.5x70 mm stainless steel screw | Passes through a BA13 drywall layer to reach the wood |
| 5x80 mm stainless steel screw | Penetration through a thicker BA13 wall lining |
| 4.8 x 50 mm white screw | Screws directly into wood; matches a white trigger guard |
| 4.8 x 50 mm black screw | Screws directly into wood; matches a black trigger guard |
Anchoring in Concrete
On a concrete wall or slab, bolts and eye bolts are installed using an anchor suitable for the load. These anchors are included with every order, for both the 8×80 mm and 12×120 mm bolts as well as the eye bolts. So you don’t need to buy anything separately: the net comes with all the parts needed for your setup.
Attaching a net to a metal structure or an IPN
Steel structural members, steel beams, and metal framing are commonly used in lofts, contemporary additions, and renovations. Installation follows the same rules as on wood or concrete—one fastener every 150 mm around the entire perimeter—but the fasteners themselves are different: they must be secured to a substrate that cannot be fastened in the same way.
The eye bolt and the screw clamp
Both of these fasteners are installed in a hole drilled in the metal structure. The eye bolt is inserted through the hole and secured with a nut, making it the most robust solution with a 100 kg axial tensile strength and a ring with a 16 mm inner diameter, which is generously sized for the tension cable. The screw-type bracket uses the same principle, featuring a short threaded shaft and a 45-mm plate that presses against the beam.
Both are compatible with the three types of lacing: single, double, and stitch-by-stitch.
| Reference | Dimensions | Strength | Material |
|---|---|---|---|
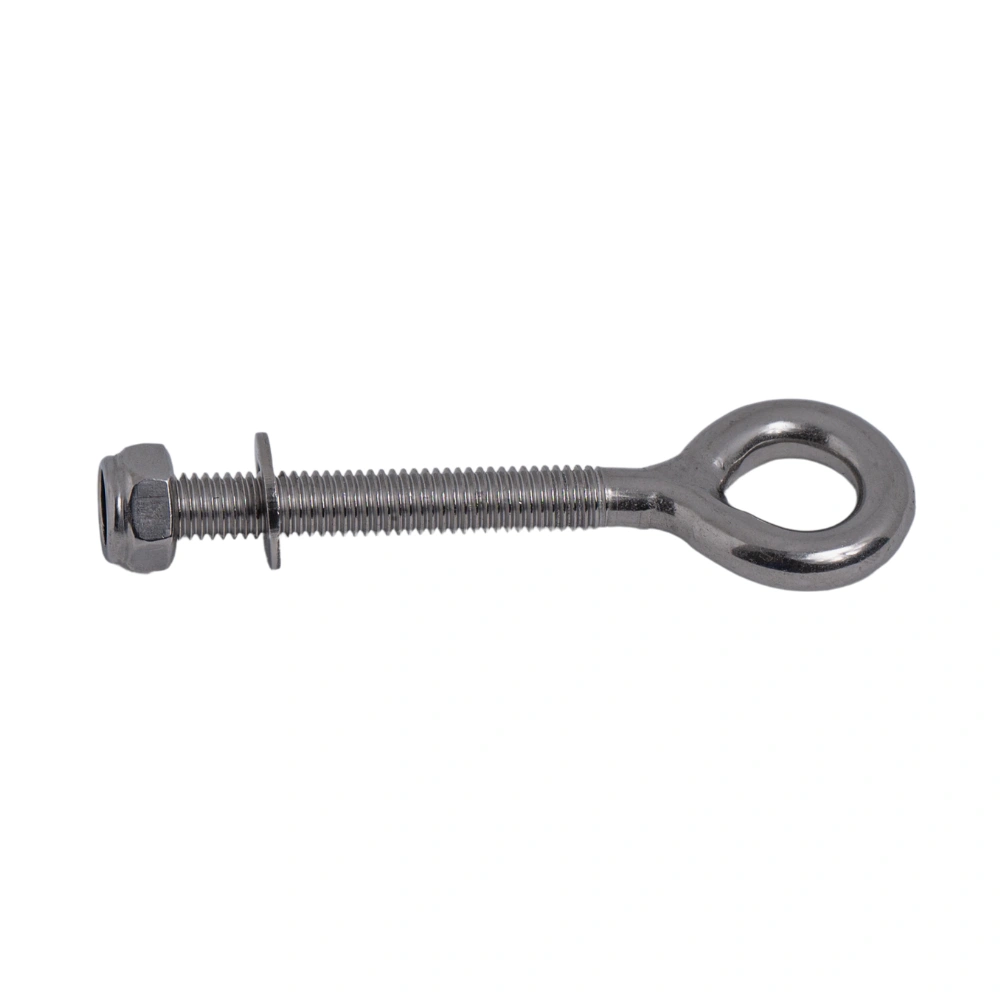 Eye bolt
|
Length 90 mm, of which 60 mm is engaged; shank 5 mm; ring inner diameter 16 mm | 100 kg | 316 stainless steel |
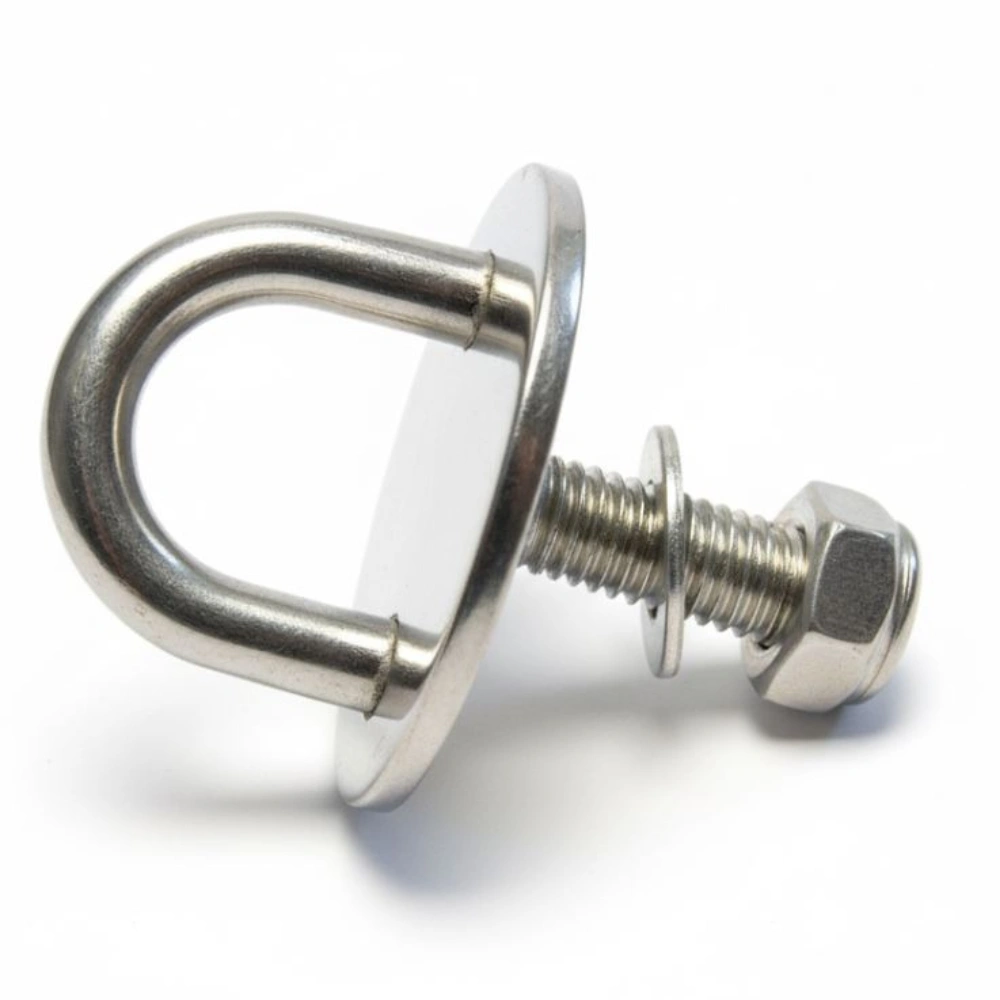 Screw-type trigger guard
|
25 mm threaded rod, 45 mm plate | 100 kg | 316 stainless steel |
| Self-tapping screw | Drills and screws in a single step | 85 kg | Stainless steel |
The alternative that doesn’t require drilling into the structure
Drilling into an IPN beam is not always desirable, whether for aesthetic or structural reasons, or because the beam is exposed and has been treated. In such cases, Feelnets offers an alternative solution: installing a metal bar or tube along the structure, to which the net is then directly attached.
This bar is not supplied by Feelnets. It is fabricated and installed by a metalworker or blacksmith near you, depending on the configuration of your beam. Our team will provide you with the dimensions and positioning specifications based on your net.
Note: Installation using a perimeter cable is a third option for metal structures, particularly when only one side is involved. This method is described in detail in the following section.
Installation on a perimeter cable
A net needs a secure anchor point on all four sides. When one side has no load-bearing support, or insufficient support, a taut stainless steel cable takes over: it becomes the structure to which the net is laced, and distributes the tension along its entire length instead of concentrating it at isolated points.
This method is compatible with all surfaces—wood, concrete, and metal—and can be combined with the other two: the cable can be used on only one side of the net, with the other three sides secured directly.
When should you choose cable-mounted installation?
There are two reasons for this choice—often both at the same time.
The first is technical. This is the most common scenario: one side of the net faces a void, a glass roof, a non-load-bearing partition, or a trough with no return. The cable provides the missing support by anchoring itself to the solid structures on either side.
The second is aesthetic. The stainless steel cable forms a thin, continuous line around the perimeter of the net, whereas a series of visible fasteners would make the support structure more prominent. Whether on an old wooden frame, a treated beam, or a contemporary facade, the result is more discreet and evokes the maritime world from which Feelnets’ expertise originates.
Components of the cable-mounted installation system
The system consists of a 5-mm stainless steel cable and three connecting pieces, all made of 316 stainless steel. The cable is stretched between two anchor points and secured at both ends, and then the net is laced onto it using the tension cord.
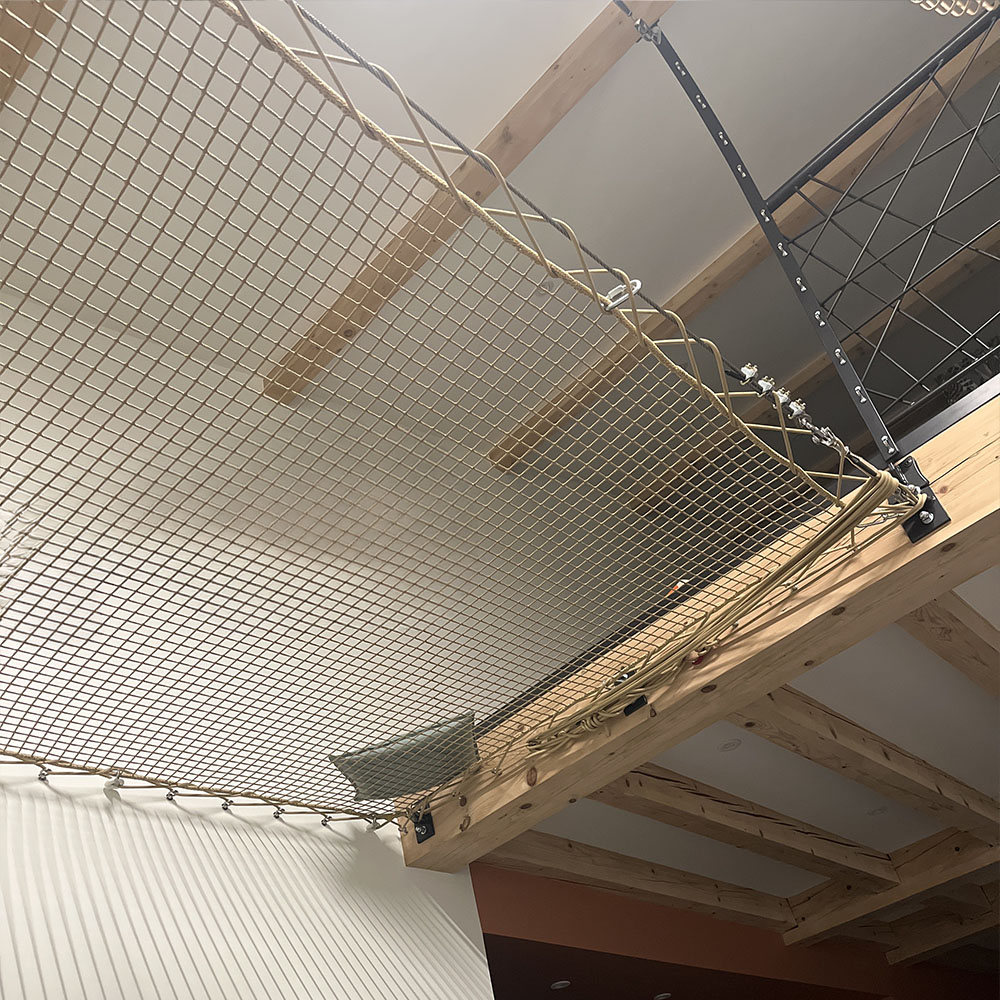
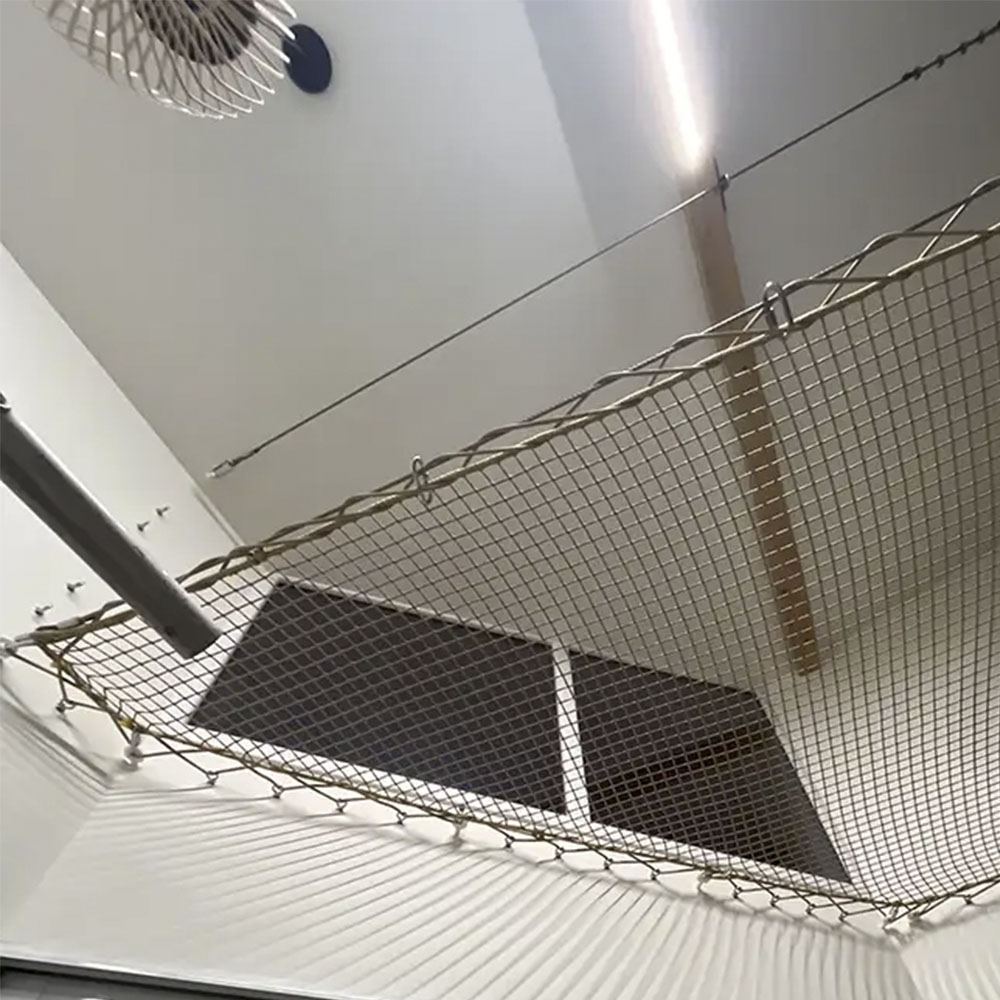

In these installations, a taut stainless steel cable replaces the missing support structure. Learn more about the cable-supported mezzanine and the cable-supported guardrail.
| Reference | Role | Features |
|---|---|---|
| 5 mm stainless steel cable | Perimeter support to which the net is laced | Diameter 5 mm, load capacity 1,300 kg, 316 stainless steel |
| M10 Cable Clamp | Cable locking at the end and tension adjustment | M10 thread, 5,000 kg load capacity, 316 stainless steel |
| Cable Clamp | Holds and guides the cable along the support | For 5 mm cable, 316 stainless steel |
| Straight shackle | Connection between the cable and the anchor points | 200 kg load capacity, 316 stainless steel |
The straight shackle: a dual-purpose component
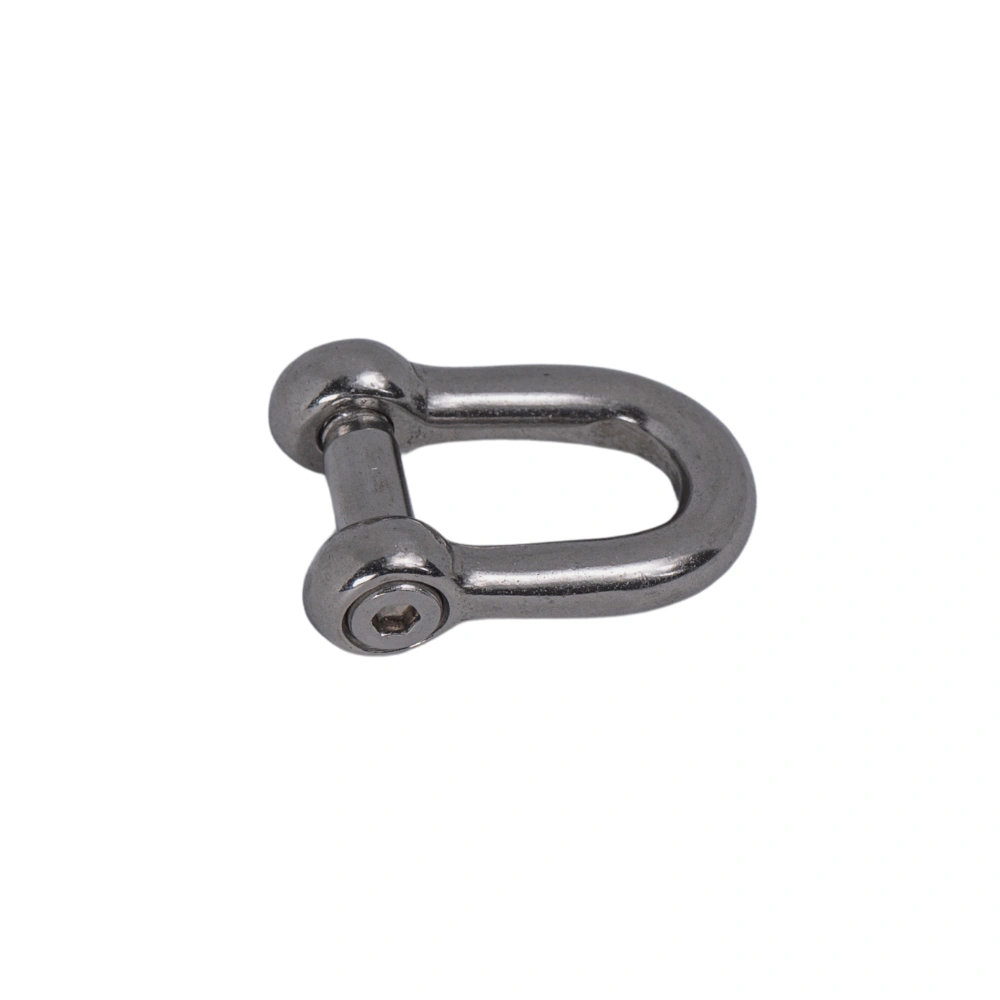
The shackle is used to connect the cable to its anchor points, but it has a second use beyond simply attaching it to the cable. Placed between the net’s lacing and the tension line, it makes it easier to retighten the net: rather than re-tying the entire lacing, you simply need to adjust the shackles to retighten the net after a few months of use.
This is a detail that few installations take into account, even though a net tends to stretch slightly during the first few months. The shackle also adds a welcome nautical touch to projects where the net is a visual element in its own right.
The tension cord and lacing
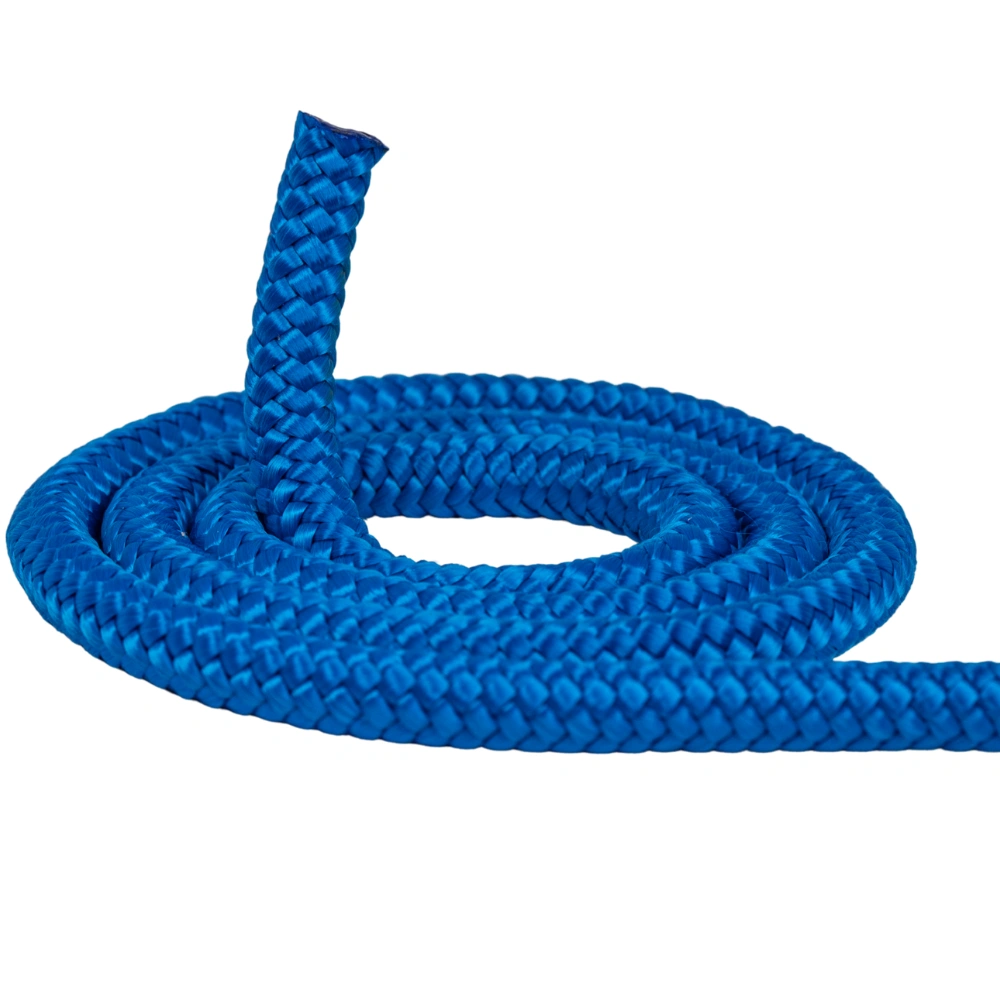
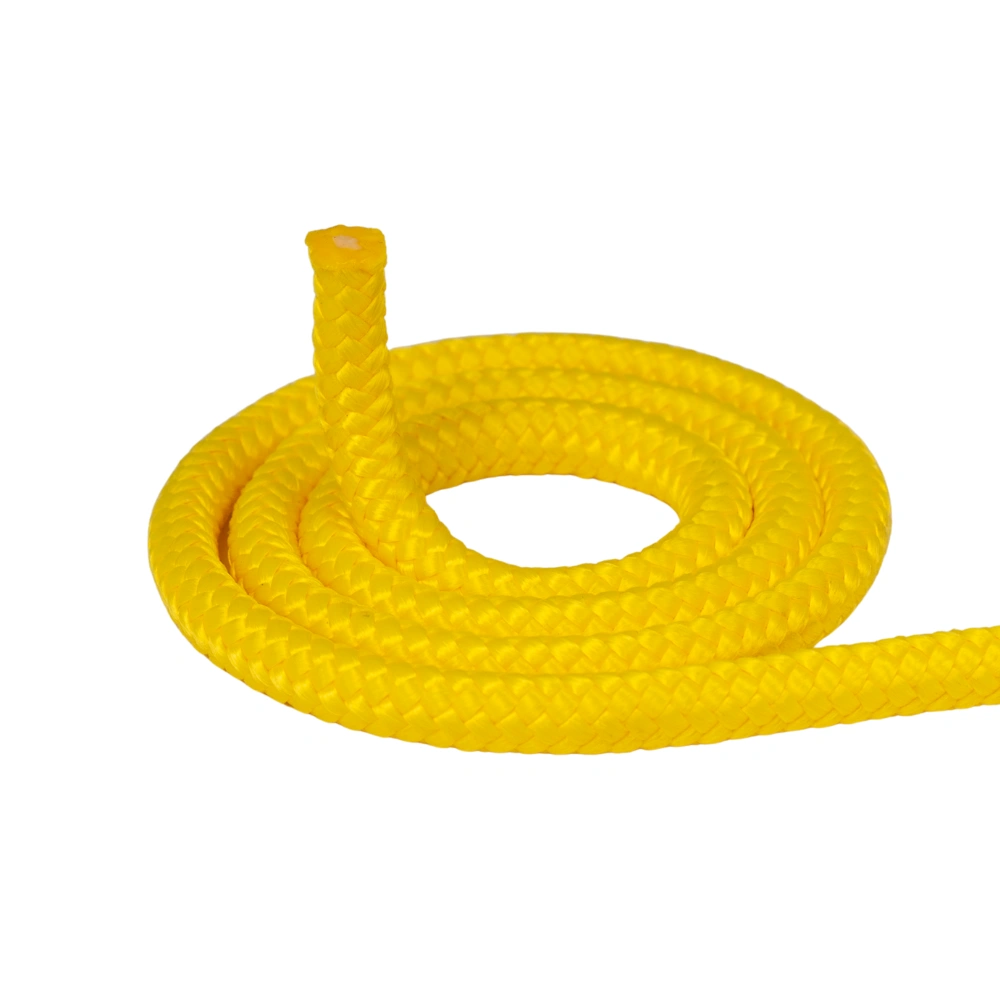
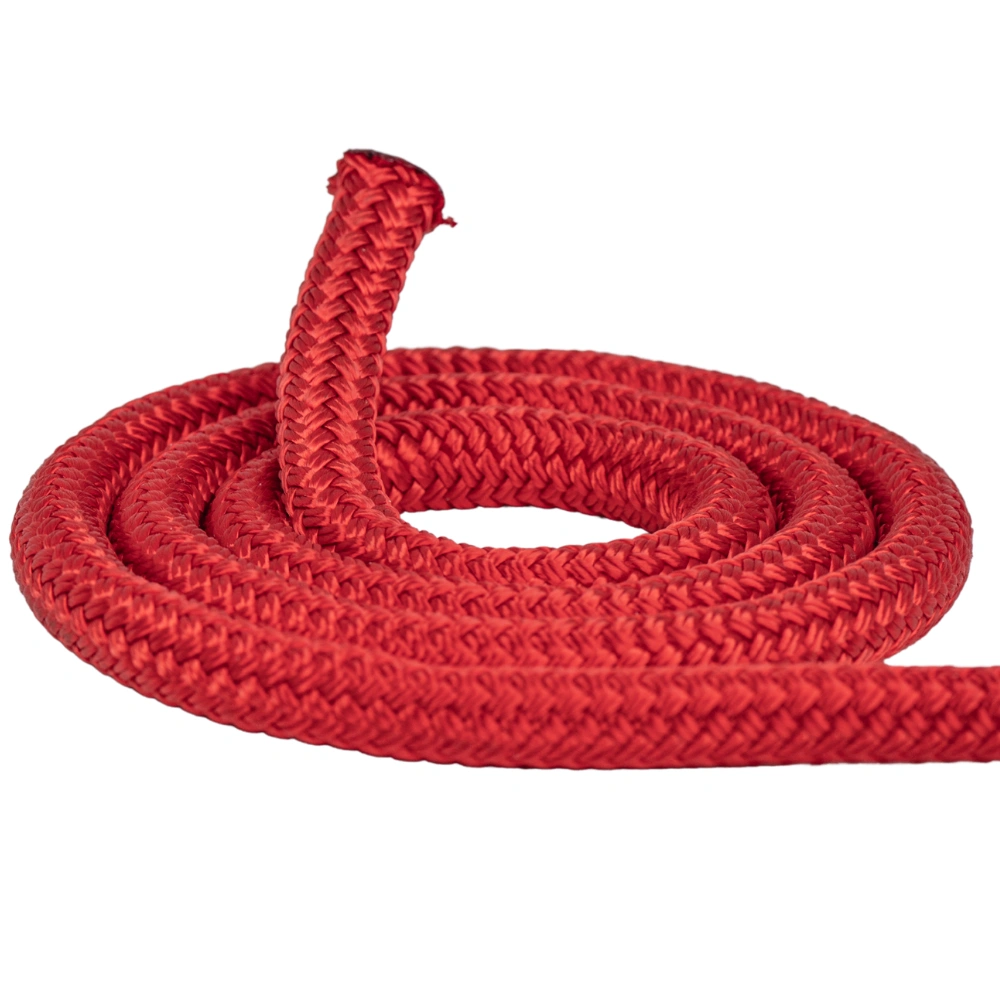
The tension cord is the component that connects the net to its fasteners all around the perimeter. Its diameter, color, and the way it is threaded—the lacing—determine both the strength of the installation and its visual appearance. It is included with all Feelnets orders (except catamaran nets) and is selected based on your specific net.
The three rope diameters
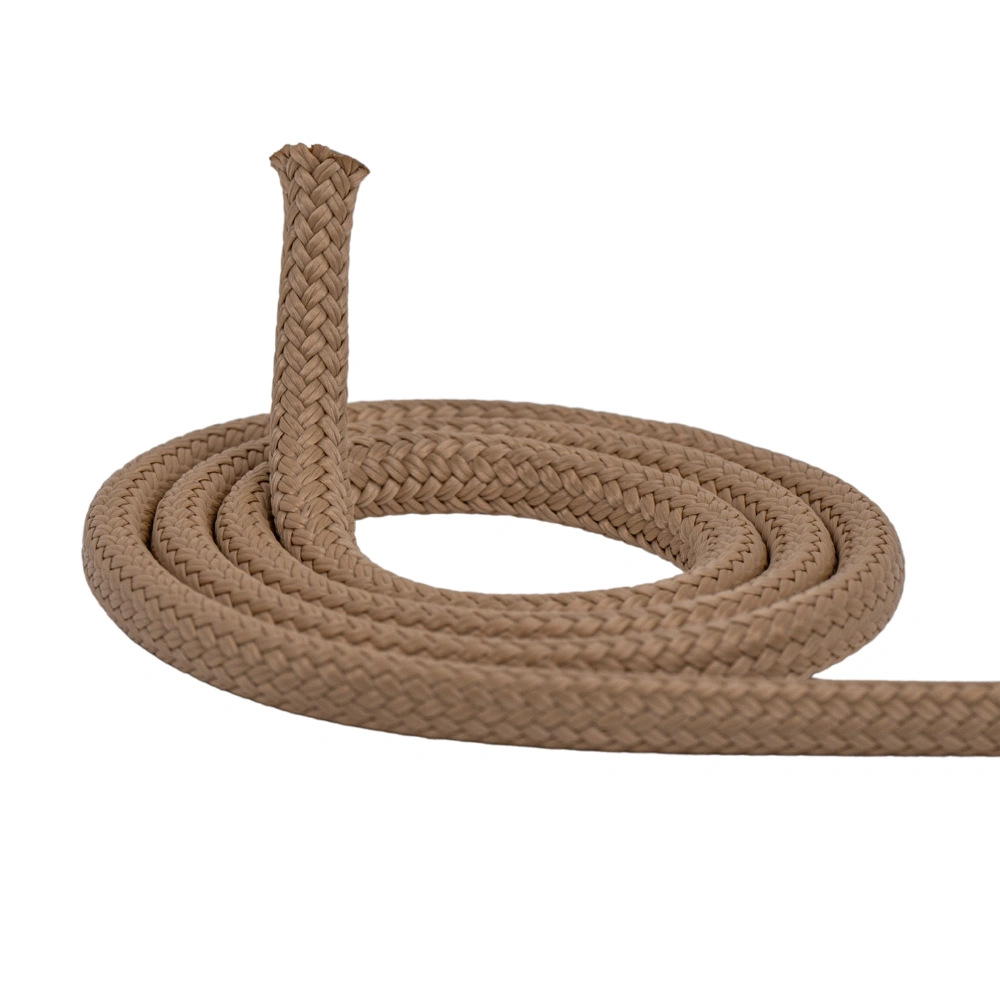
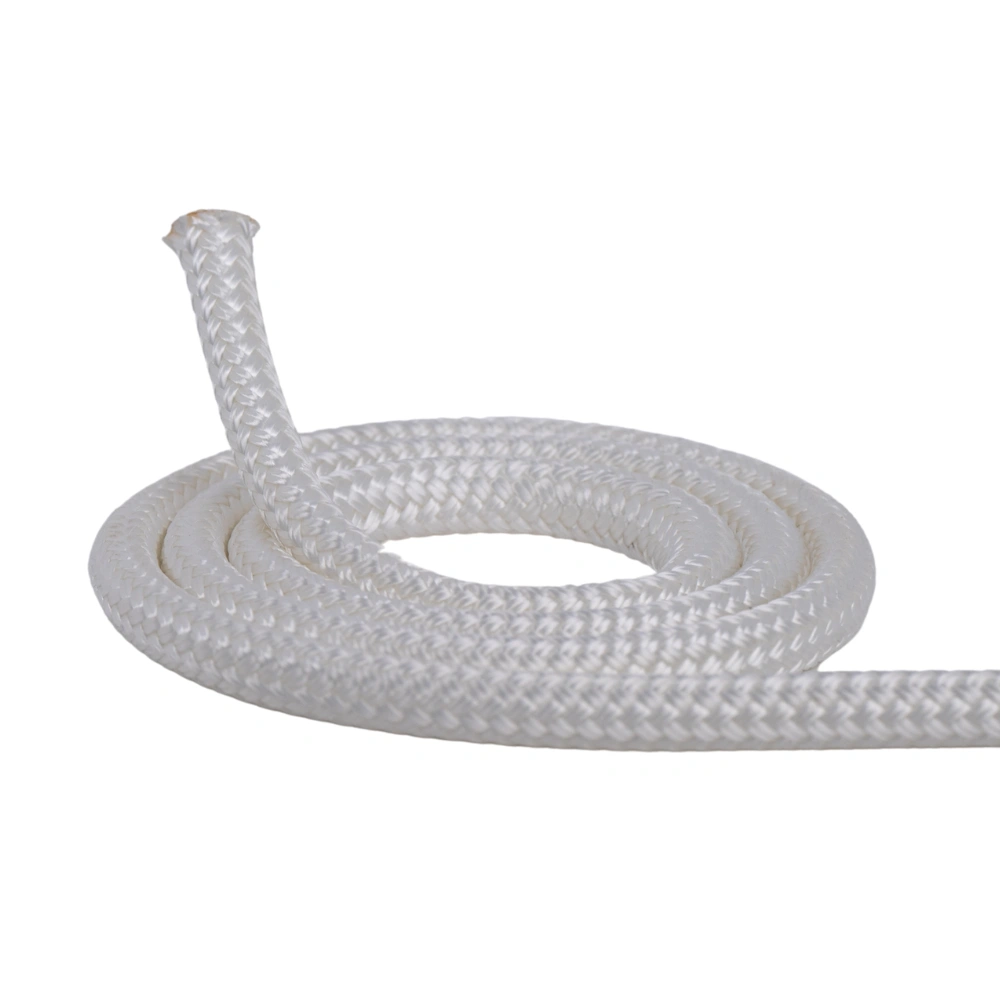
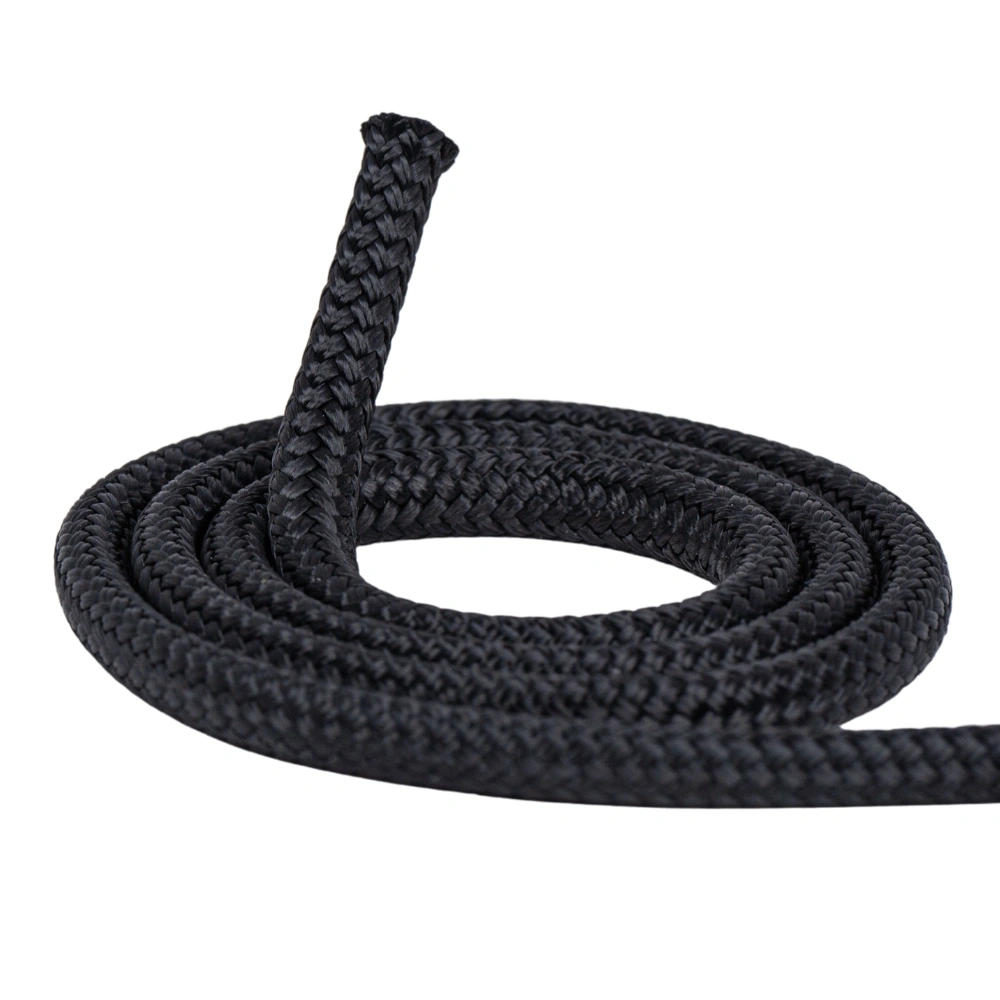
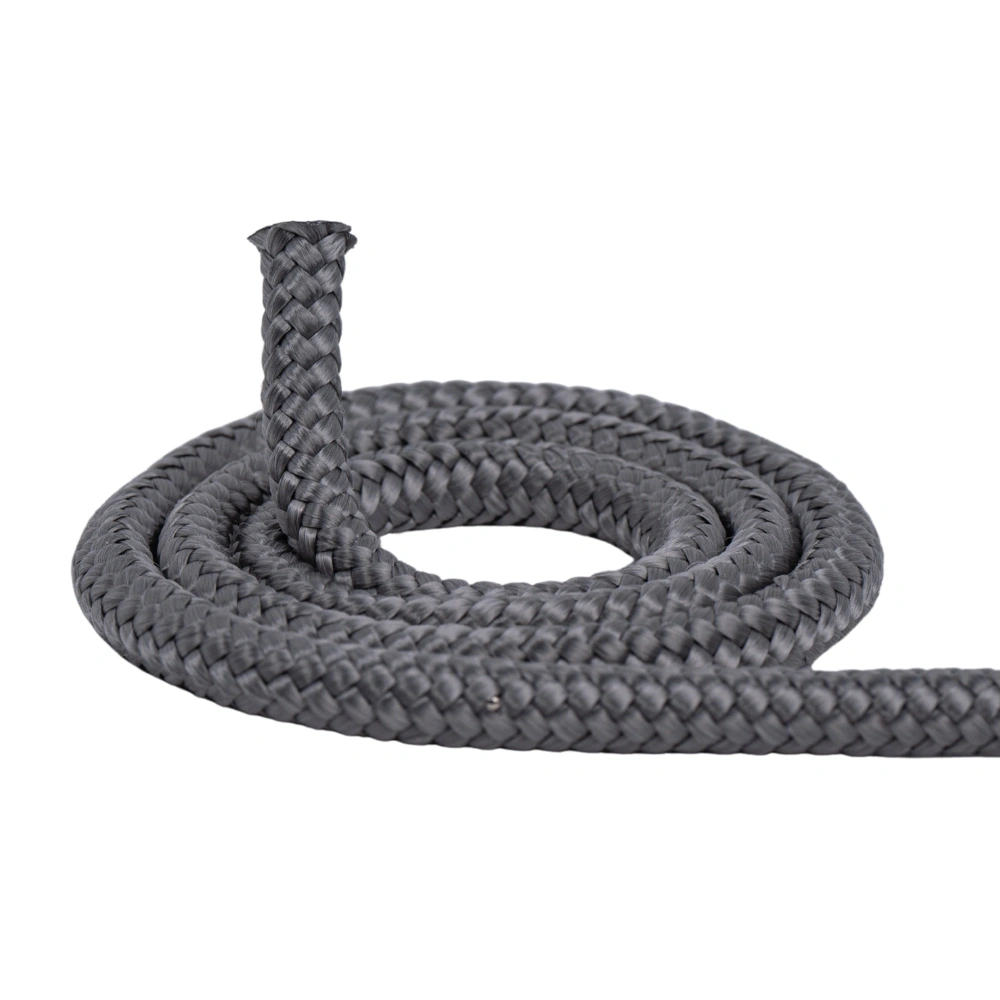
The tension cord is made of UV-treated polyester, is M1 fire-rated, and is non-elastic, which maintains a stable tension over time. It is available in three diameters, selected based on the mesh size of the net and the load to be supported.
| Diameter | Strength | Usage |
|---|---|---|
| 6 mm | 950 kg | Lacing done stitch by stitch, using one-meter strands. Aesthetic finish |
| 8 mm | 1,550 kg | Single or double lacing, standard mesh |
| 10 mm | 2,550 kg | Single or double lacing. Recommended for children and rental use, heavy-duty use |
Seven colors, either matching or contrasting
The tension cord is available in seven colors. It can be matched to the net—in the same shade for a subtle, uniform look—or, conversely, in a contrasting color as a stylistic choice that highlights the net’s outline and evokes the maritime world from which Feelnets originates. The cord can become a true decorative element. Discover a red net with cord in the same shade for a unified look, and a white net accented with red cord that creates a striking contrast.
The Three Types of Lacing
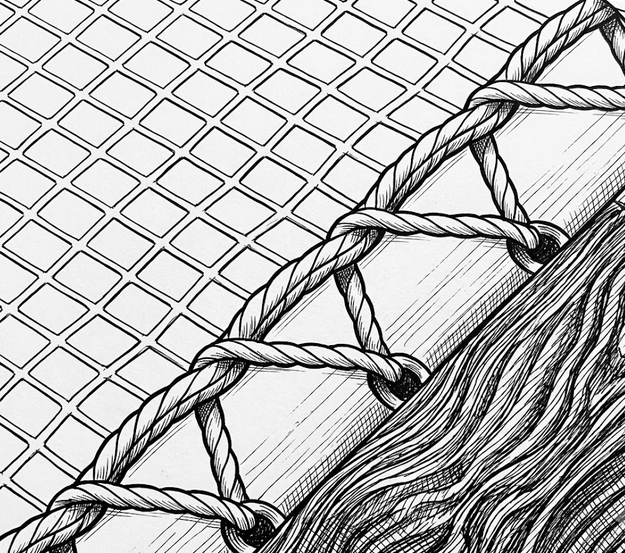
Lacing refers to the way the cord is threaded between the net and its anchors. There are three methods, all of which are compatible with all the fasteners in the line. The choice comes down to aesthetics and the desired look; none is safer than the others as long as the 150-mm spacing is maintained.
The Basic Lacing Method
The rope connects the net's lacing strap to each attachment point in a single pass. The result is a neat, even finish, and it can be set up quickly. This is the most common lacing method.

Double Lacing
The same principle applies, with two passes per tie-off. This creates a denser, more visually striking border and uses about twice as much cord. For heavy-duty use.
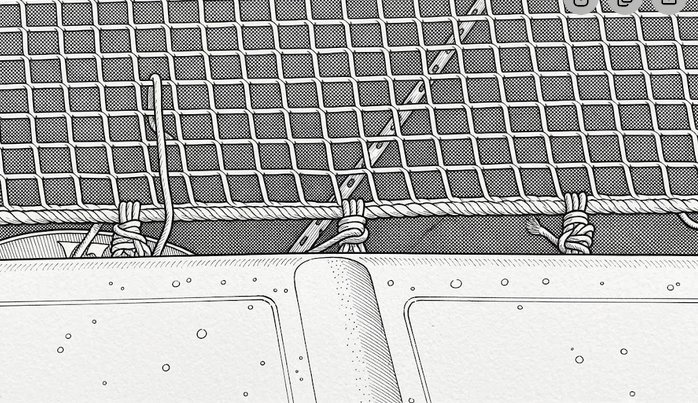
Stitch-by-Stitch Lacing
An independent attachment is provided on each fastener. This allows you to work on a single point without affecting the rest of the perimeter, making it easier to adjust the tension. Intensive use.
Installation guidelines common to all nets
Regardless of the installation method chosen, two factors determine the safety and service life of the structure: the spacing of the fasteners and the type of lashing. These principles apply equally to mezzanines, guardrails, and patio netting.
One fastener every 150 mm
This is the basic rule for any Feelnets installation. The fasteners are spaced every 150 mm all around the perimeter of the net, without exception, including in the corners. This spacing is important to ensure even distribution of load and tension across the entire net, resulting in a comfortable and functional net.
This spacing is not an excessive precaution. A net exerts constant tension on its anchor points, and this tension increases as soon as a load is applied. Spacing the fasteners further apart concentrates the force on a smaller number of points, with two consequences: the tension becomes uneven and the net forms visible waves between the anchors, and, more importantly, each fastener bears a load far greater than the one for which it is designed.
This rule also determines the number of fasteners included with your net. The calculation is based on the exact perimeter of your setup, and the set is included in the order.
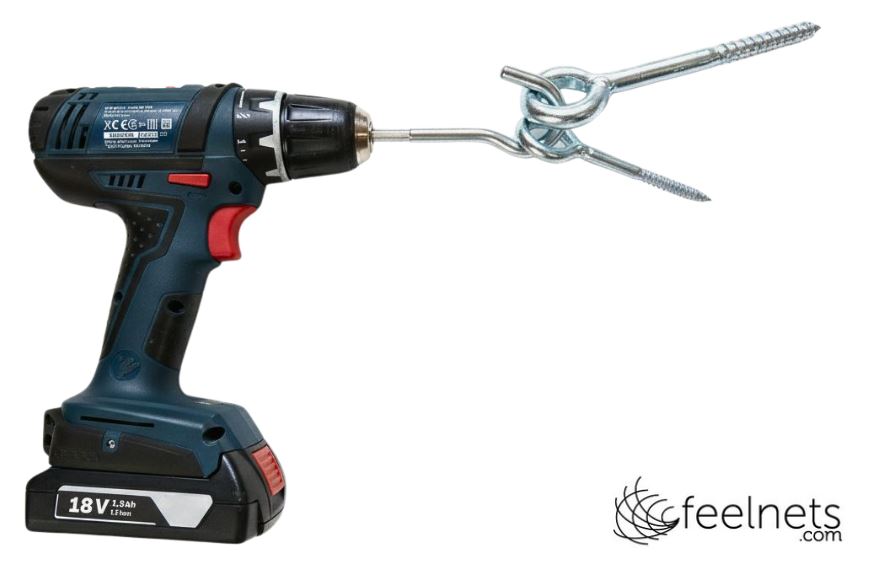
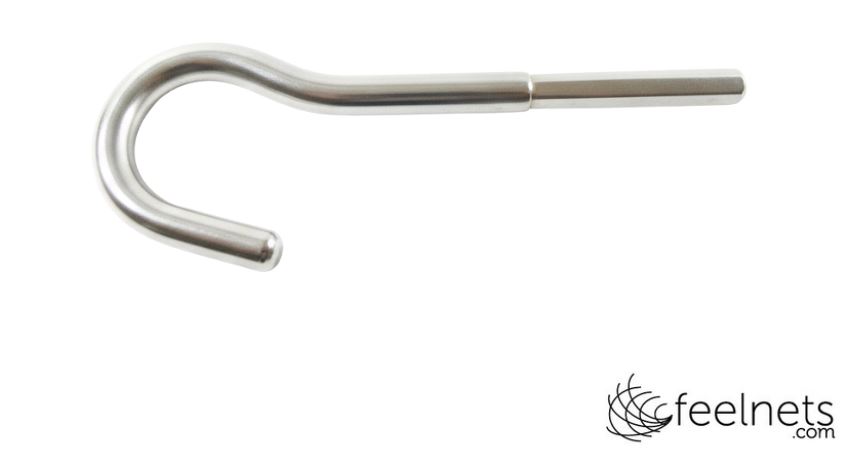
The Feelnets Screwdriver Bit
Screwing in about a hundred bolts by hand is time-consuming and tiring. Feelnets offers a special bit that fits all screwdrivers and allows you to screw in 8×80 mm or 12×120 mm bolts quickly, effortlessly, and without the risk of warping them.
It’s particularly useful on large surfaces, where there are many fasteners, and for installations at height where you need to minimize the time spent on a stepladder. Be sure to add it to your order—it will save you precious time.
Which fastener is right for your project?
Here are the most common configurations and the mounting hardware that Feelnets recommends for each one. In all cases, the mounting hardware best suited to your project is selected with the help of our team of experts and included with your order.
Wood-Frame Mezzanine
Recommended fastener: 8x80 mm piton
Screw directly into the roof framing or beams. The 12x120 mm anchor is used for long spans and heavy loads.
Mezzanine on Concrete
Recommended fastener: 8x80 mm piton with anchor
Load-rated anchors are included with the order. The plate-mounted bracket is an alternative when a wider load distribution is desired.
Wooden or Concrete Railings
Recommended mounting: bridge on a plate or horseshoe bridge
Flat and unobtrusive design for use on a vertical net. Available in stainless steel, white, and black to match the net's color. The 12x120 mm carabiner is not suitable for this use.
Mesh on IPN or metal framework
Recommended fastener: eye bolt or screw-on bracket
One fastener every 150 mm in a hole drilled in the beam. The self-tapping screw is suitable for thin profiles. A metal insert eliminates the need for drilling.
Outdoor net, patio, or pool
Recommended fastener: any 316 stainless steel part
Use pins or brackets depending on the mounting surface and the desired finish. Galvanized steel should not be used outdoors, whether by a pool or at the beach.
Incomplete structure or aesthetic pursuit
Recommended mounting: installation on a perimeter cable
5-mm stainless steel cable on the side(s) without a support structure. Compatible with other methods along the rest of the perimeter.
The Case of the Catamaran Nets
Catamaran and multihull nets follow a different design principle. The attachment points are already present on the boat, integrated into the fittings and gunwales, so no additional fasteners need to be installed. Only the tension line is required—6 mm in diameter—with either a single lacing or a point-by-point lacing, depending on the deck configuration.
Feelnets supplies this rope upon request, as most boat owners already have their own. For guidance on choosing the right net material, a dedicated guide covers the mesh sizes suitable for boating.
Do you know which bindings you need? Get your personalized quote in less than 3 hours. The bindings suited to your setup are included.
Do you have a question about your device? Our team is available by phone, email, or WhatsApp.
FAQ - Frequently Asked Questions About Choosing Mounting Hardware for Your Custom-Made Net
What fastenings are needed for a mezzanine net?
The 8×80 mm anchor bolt is the standard choice for a horizontal tie, screwed directly into the framing or secured with a anchor bolt in concrete. For long spans or heavy loads, the 12×120 mm anchor bolt provides a tensile strength of 300 kg. The plate-mounted bracket is an alternative when the support is thinner or a flush finish is desired. In all cases, a fastener is installed every 150 mm around the entire perimeter.
What fastenings are needed for a guardrail net?
On a vertical net, plate-mounted anchors are recommended for their unobtrusive appearance and their ability to distribute the load over a wide area. The more compact horseshoe-shaped bracket is reserved for this vertical application. The 8×80 mm bolts are also suitable. The 12×120 mm bolt, however, is not recommended for guardrails, as its size is visually too bulky for this type of installation.
How do you attach a net to concrete? Are the anchors included?
Installation in concrete is done using a bolt or a bracket combined with an anchor suitable for the load. These anchors are included with every Feelnets order, for both 8×80 mm and 12×120 mm bolts as well as for the brackets. You do not need to purchase any parts separately.
How do you attach a net to an IPN or a metal structure?
Two types are suitable: the eye bolt, which passes through and is secured with a nut, and the screw-type bracket, with its 25-mm threaded shank and 45-mm mounting plate. Both offer 100 kg of axial tensile strength and are installed every 150 mm. The self-tapping screw is suitable for thin profiles. If drilling into the structure is not desired, Feelnets recommends having a local metalworker install a metal bar or tube onto which the net is laced.
What kind of tension cord should I use for my net?
The tension rope connects the net to its attachments all around the perimeter. It comes in three diameters—6, 8, and 10 mm—selected based on the net’s mesh size and the load it must bear, and in seven colors that can be matched to the net or used as a contrast for aesthetic effect. Made of UV-treated, non-elastic polyester, it is included with all Feelnets orders, with the exception of catamaran nets. The 6-mm rope is used for point-by-point lacing, in one-meter lengths.
What should be the spacing between the net’s fasteners?
One fastener every 150 mm around the entire perimeter of the net, including the corners. This spacing distributes the tension across the entire structure. Wider spacing concentrates the force on fewer points, creating uneven tension and causing each fastener to bear a load greater than that for which it is designed. The number of fasteners supplied is calculated based on the exact perimeter of your net.
What kind of screw should be used to attach a trigger guard through a BA13 lining?
The 4.5×50 mm screw is suitable for direct fastening into wood. If you need to penetrate a BA13 sheathing layer to reach the load-bearing wood, you should use a 4.5×70 mm or 4.5×80 mm screw, depending on the thickness of the sheathing. This is a critical factor for the fastener’s holding power: a screw that is too short will not engage enough material in the load-bearing substrate.
When should you install a net on a perimeter cable?
When one side of the net lacks sufficient support, a 5-mm stainless steel cable is stretched between two anchors and serves as the support to which the net is laced. This method also serves an aesthetic purpose, as the cable creates a thin, continuous line where visible fasteners would otherwise draw more attention to the support structure. It is compatible with wood, concrete, and metal supports, and can be installed on just one side of the net.
Are the fasteners included with the net?
Yes. Every Feelnets order comes with the net custom-made to your specifications, the mounting hardware appropriate for your type of support, anchors if the net is being installed in concrete, tension cables, and an installation guide. The mounting hardware is selected by our team based on your setup; you don’t need to choose them separately.
Are Feelnets fasteners suitable for outdoor use?
Yes. Most of the product line is made of 316 stainless steel, a marine-grade material that withstands humidity, salt spray, and temperature fluctuations, including in poolside and seaside environments. Only two items are made of zinc-plated steel—the 8×80 mm bolt and the 12×120 mm bolt—and are intended for indoor use only.
What kind of fasteners should be used for a catamaran net?
No fasteners are required. The attachment points are already present on the boat, integrated into the fittings and gunwales. All that’s needed is a 6-mm tension line, tied in a single loop or tied off at each point depending on the deck configuration. Feelnets provides it upon request, though most owners already have their own.


How to install a mezzanine net without a load-bearing wall: the steel cable solution
Installing a house net requires a solid structure on all four sides. But what if a wall is missing or made of plasterboard? Feelnets offers a reliable technical solution: steel cable fastening. This option makes it possible to install your net anywhere, even in the most complex configurations.
Steel cable: a robust alternative to load-bearing walls
In many modern interiors, the void over the living room does not always have four masonry walls. A conventional railing or light partition is not enough to support the tension of a net. This is where stainless steel cable comes in.
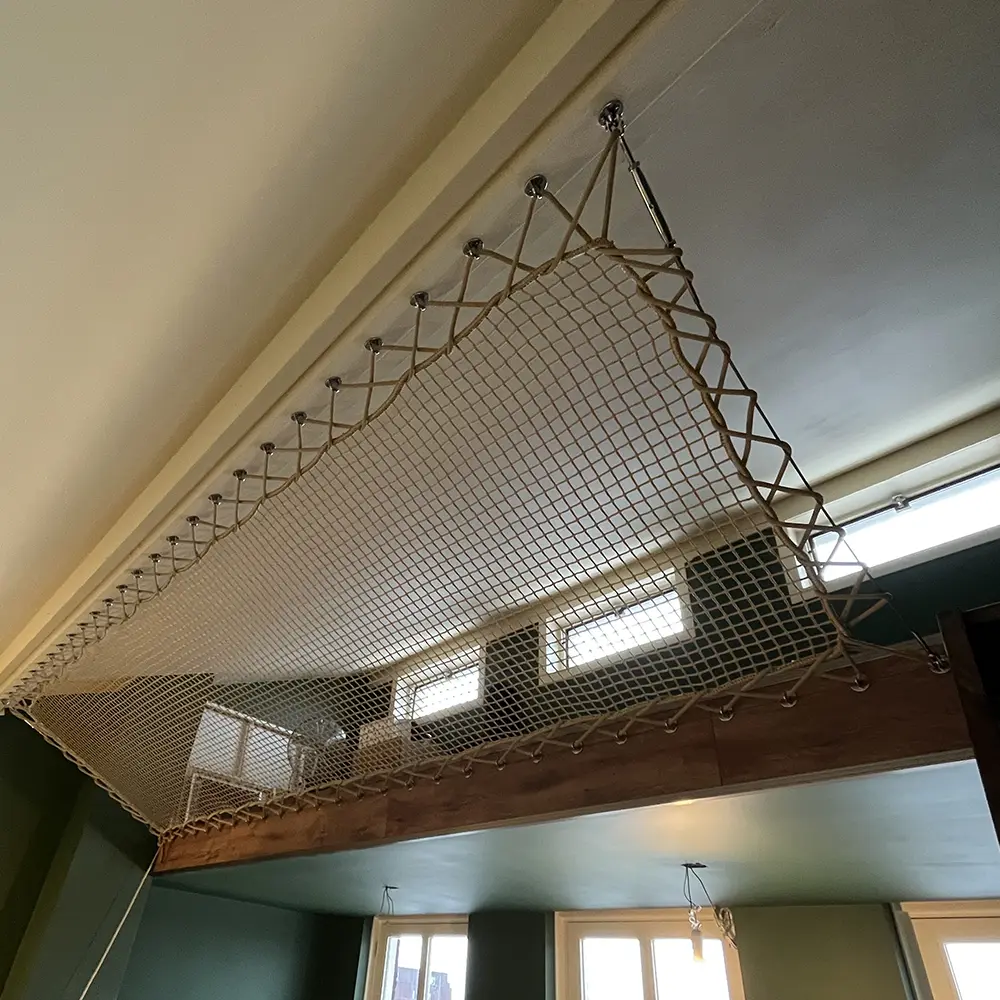
Many Feelnets customer projects are already using this cable fastening technique. This solution makes it possible to install a home netting where it would otherwise seem impossible. This beige mezzanine net on cable is a perfect example of this space-saving solution.
This high-strength cable is an ideal replacement for a missing beam or wall. It provides a rigid base for lacing the net. The tension remains perfect over the entire resting surface. This installation guarantees total safety for adults and children alike. It also complies with the most stringent loading standards in the industry.

A complete mounting kit for easy installation
Feelnets doesn’t just deliver custom-made nets. We also supply a complete technical kit to secure your project. This includes stainless steel cable, cable ties, cable blocks and shackles.
Each accessory plays a specific role in the overall stability of the system. Shackles connect the rope to fixed anchor points. Cable blocks maintain constant tension over time. This tailor-made system adapts to the exact length of your vacuum. So you get a “ready-to-install” solution, even if you’re not a DIY expert.
Aesthetics and luminosity preserved
The choice of steel cable does not sacrifice the design of your interior. On the contrary, this slim, discreet fastening reinforces the airy appearance of the home netting. It eliminates the need for bulky posts or heavy wooden structures. The absence of solid partitions encourages the circulation of natural light between floors. Your room gains in volume and clarity, while offering a unique new space for relaxation.